
 |
| the light changes a lot but whatever ^^ |
*side note, you can print these pictures out in approximately an A4 size before it starts to blur
1. Backup
I always backup my pictures once my storage starts to
fill up. Working on a phone with a 16gb capacity, you don't really have
that much space, especially if you have a lot of apps installed. Bring a
laptop to backup, or for Android phones, an extra memory card/phone
compatible USB. If you don't feel the need to bring around your own
laptop, you can always just bring a USB and borrow the hotel's
computer.
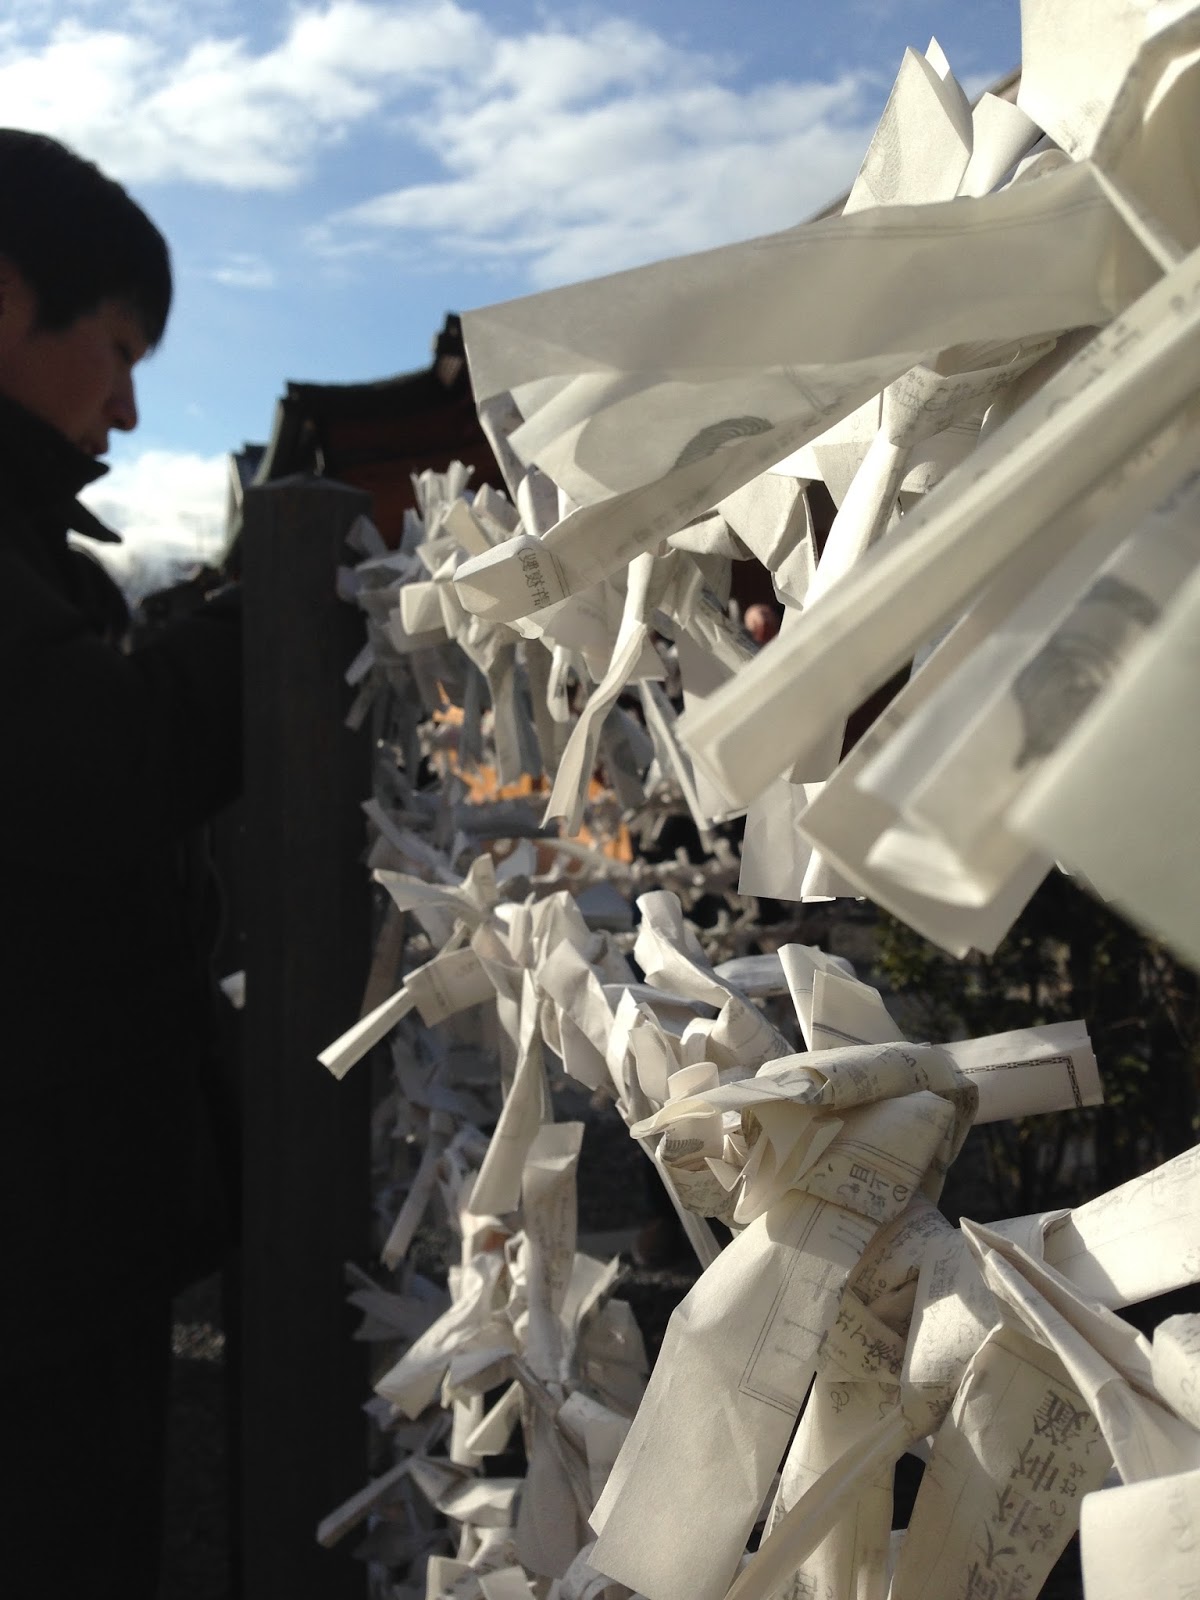 |
| an example of focus |
2. Focus
Playing with the focus of your camera can easily bring depth to your pictures. With the 5c camera, you need to get pretty close, so using focus works better with something that doesn't have to be fully captured. Simply tap on the object you want to focus on, and when the background is out of focus you know you're close enough.
 |
| another example of using focus |
A simple change of angle can completely alter your photo. When taking them, try a couple of different angles to have a varied selection. Try a low angle, which is effective with tall buildings, or a bird's eye view for pretty foodie shots.
 |
| not really that extreme of an angle, but you get the idea |
4. Zoom
Stay away from the zoom feature as much as you can. I personally think it's aesthetic suicide for your travel pictures. It's best to get as close as you can rather than using the iPhone zoom. Also, after taking the shot you can crop and adjust the perspectives. It makes a better picture since the zoom produces a grainy, blurred shot. To do this, I have a really nice editing app.
 |
| edited with vsco cam |
You've probably used this app before, but if you haven't, it's genuinely amazing. It's free on both the Apple and Google Play store, with in-app purchases for extra filters. To be honest, it's basically a filter app, but there are a lot of hidden features. Small icons represent the adjustment options, which include perspective adjuster, basic fixes like exposure, and things like shadow tints. Also, I NEED TO STRESS HOW GOOD THEIR FILTERS ARE. These are little saviours for your pictures and can make a horrible photo look great. But on that note, be careful not to over edit.
 |
| for some reason, this b&w filter works really well with this photo |
xx, thea
No comments:
Post a Comment